Last week I posted a DIY on a friendship bracelet. I thought I would go into more depth and show how to do the knots, explain some tips that I think will make the process go more smoothly, and share some things you should know before you start your own bracelet.
Basics
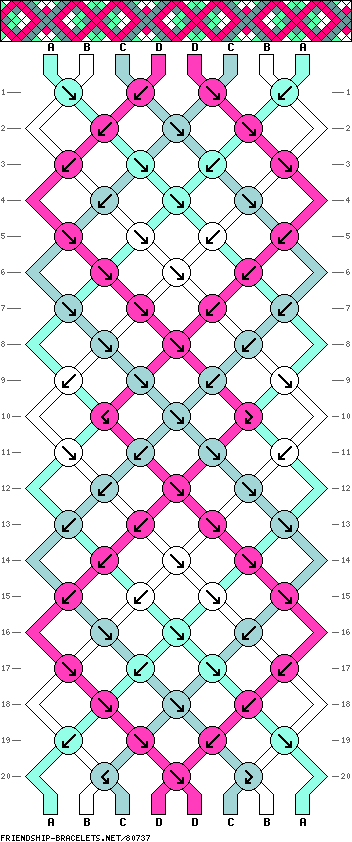
- The 4 Knots
- 1 - overview & specific
- 2 - overview & specific
- 3 - overview & specific
- 4 - overview & specific
- From the picture, you can see 2 knots being tied. The knots should NOT be tied together. The first knot should be pulled tight all the way, and the second knot should be pulled casually (not too tight, not too loose)
Tips
- Consistency: Try to keep each knot even from start to finish. That will ensure a straight friendship bracelet and the knots won't all be different. If you start off doing loose knots, your bracelet will be wider and the individual knots bigger. If you start making the knots tighter later on, you will notice that the width of the bracelet starts to get thinner and the knots smaller. And that makes the bracelet look uneven and not professionally done.
- Find your method: I usually try to go in a V pattern. So each time I will end in the middle knot. If that confusing hopefully the image below will help clear everything up. For me it is the easiest way to find where I left off especially if you take a break in the middle. Also I find that it keeps the bracelet straight.
- Stay organized: The strings tend to tangle easily, so try your best to keep them separated. I would suggest working with pairs (it’s easier to untangle 2 strings than 3+).
- Customize it: You don’t have to follow the exact colors of the pattern, or the one that I made. A tip that I can give is to either print out a black & white copy to the pattern and color it with your 4 colors or come up with a trick to remember the colors. For me the pink was the light pink, the greenest one was my green, white was my yellow because it was the lightest color. (did you know that if you highlight text with a yellow highlighter and make a black and white copy, it looks like you didn’t highlight anything?) The last one was a stretch: teal was orange.
- Persistence: Starting is the hardest part. Mostly because initially your friendship bracelet won’t look like much and it might get discouraging. But keep going and soon you will start to see the pattern emerge.
- Be patient: It does take a while. I have done friendship bracelets that have taken a few hours. And some that have taken a few days. The best advice I can give is to sit back, turn on the TV, and take some time to tie all the knots. It doesn’t take much brain power to make the bracelet; just time.